Tiling a bathroom floor can be a great way to give your space a fresh new look. One common question during this process is whether or not you need to remove the toilet to tile the floor.
The answer is yes! Removing the toilet when tiling a bathroom floor is always a good idea. Otherwise, you risk your new tiles’ proper fit and seamless appearance.
Let me explain why.
Understanding the Tiling Process
When tiling a bathroom floor, it’s crucial to understand the process and why removing the toilet is often necessary. So here’s a quick overview of your project from start to finish.
First, you’ll need to ensure your subfloor is level, as this provides a stable base for the new tiles.
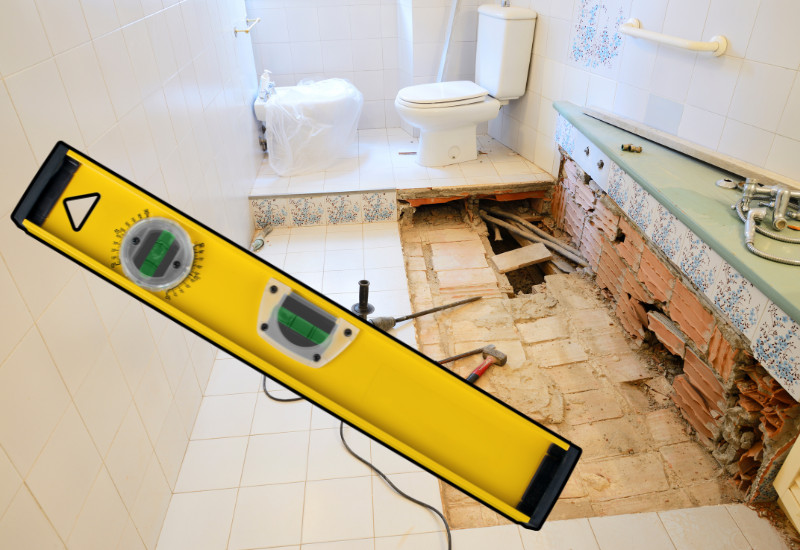
By removing the toilet before tiling, along with the old floor, you can access and adequately lay tiles beneath it. This ensures a professional, seamless appearance and speeds up the process by mapping out your design and determining the cuts needed.
With the toilet removed and tiles precut, you can install your chosen tiles like a pro. Using a suitable adhesive, spread it evenly onto the subfloor and then carefully set the tiles in place. Ensure the tiles are level and use tile spacers to maintain consistent gaps between them.
These gaps will be later filled with caulk or grout. After the adhesive has been set, use a damp sponge to remove any excess from the tile surface.
Once the tiles are set, and the adhesive is dry, you can apply the caulk or grout to finish the job. Be sure to wipe down the entire surface with a damp and dry sponge rotation to remove any leftover glaze. With everything set and dry, reinstall the toilet, ensuring you have a good seal with the new wax ring.
Finally, reconnect the plumbing and test for any leaks.
Toilet Removal Procedure
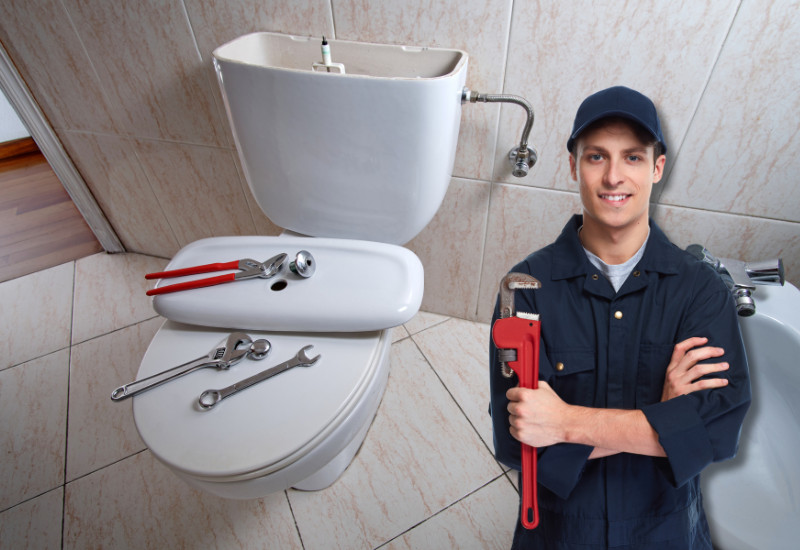
Hopefully, the overview above has shed some light on the need to remove your toilet before a new tile install. So, let’s get to the heart of the matter: your toilet.
And if it still isn’t clear…you must remove the toilet before starting your tile floor project to avoid any damage or future leaking and ensure a proper installation. If you’re new to toilet removal, follow these steps for a smooth process.
- First, turn off the water supply to the toilet by turning the valve behind the toilet’s base.
- Next, flush the toilet to drain the remaining water in the tank and bowl. You may need to use a sponge or towel to remove excess water.
- Loosen and remove the nuts at the toilet’s base, connecting it to the floor. These nuts secure the toilet to the concrete subfloor or other flooring material, such as linoleum.
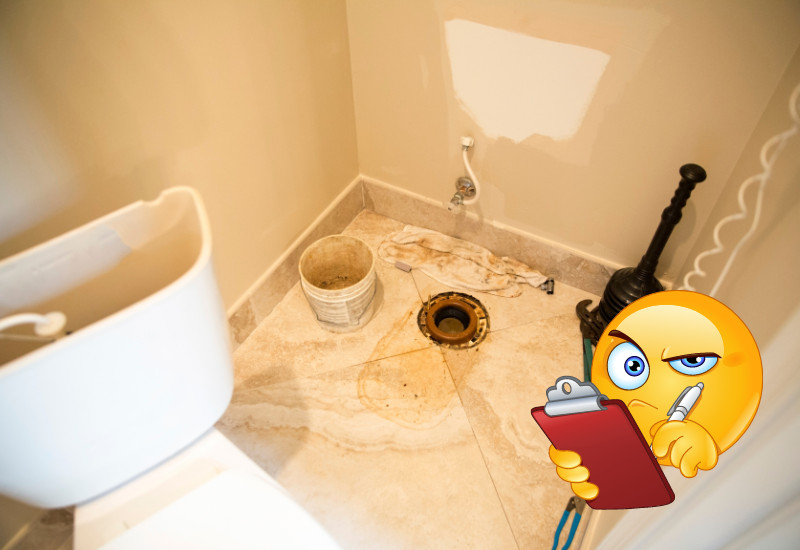
- Once the nuts are removed, gently rock the toilet back and forth to loosen the gasket seal. Carefully lift the toilet off the flange and drainpipe and move it to a safe location.
- Place a rag or cloth in the open pipe to prevent sewer gases from entering the room and to keep any debris from falling into the drain.
Now that the toilet is removed inspect the area for any water damage caused by leaks. Repair any issues you find before proceeding with the tiling project. This is also an excellent time to assess whether you’ll need plumbing services to address any underlying issues.
Next, it’s time to measure and cut tiles to fit around the flange. A tile cutter may be used for precise cuts. As I said before, planning your tile layout in advance can save you tons of time.
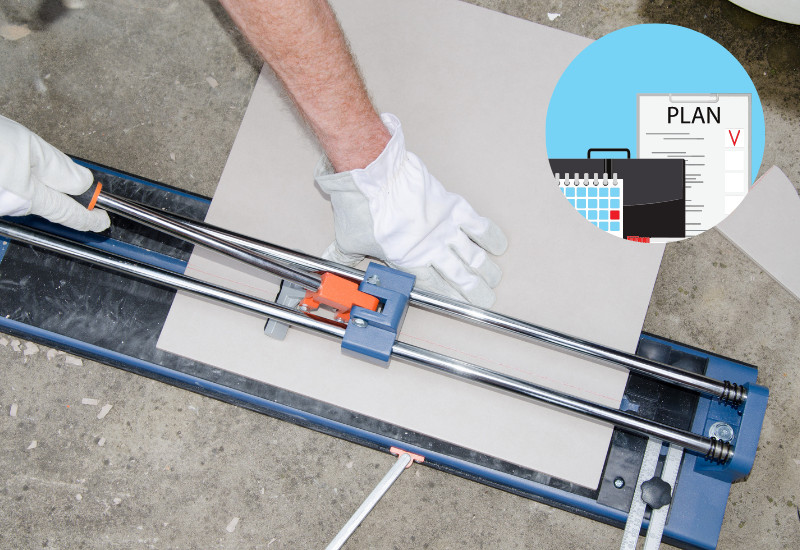
This goes a long way to avoid small, narrow tiles around the flange, which can be challenging to cut and install. During the tile installation process, take care not to shift the flange or damage the gasket seal. Once the new tiles are installed and grouted, you can reinstall the toilet on the updated floor, ensuring a proper connection to the drainpipe.
Inspect the Toilet Flange
Inspecting the toilet flange is crucial before you start tiling your bathroom floor. The flange forms a vital connection between your toilet and the sewer pipe. And any damage or improper alignment will spell trouble in short order.
So, what are you looking for?
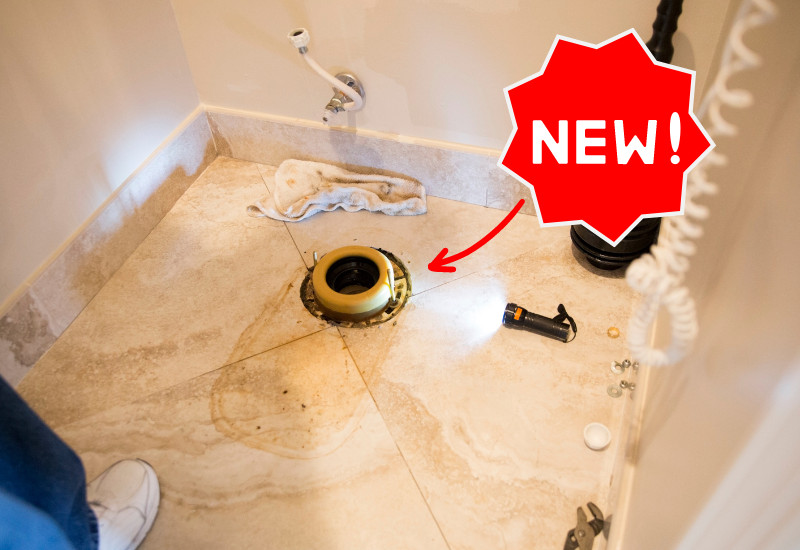
Examine the toilet flange for signs of damage, such as cracks or breakage. If you notice any issues, it’s important to replace the flange before proceeding with your tiling project. A damaged flange can lead to future repairs and potential leaks.
Ensure that the toilet flange is level to prevent problems with the toilet’s stability and efficiency. Use a level to check if the surface is even. If not, you may need to adjust the flange by installing shims or a spacer, which can help achieve the right height, especially when adjusting for the added size of the new floor tiles.
Once you’re confident that the flange is not damaged and it’s level, you can proceed with your tiling project. Remember to seal the flange and sewer pipe connection once your new floor tiles are installed to maintain a secure and leak-free seal.
By taking the time to inspect the toilet flange, you’ll ensure a successful bathroom upgrade and fewer future repairs.
Putting Toilet Back
After tiling the floor, it’s time to reinstall the toilet.
Start by installing a new toilet seal at the base. Choose between wax and wax-free seals for your toilet. Place the seal onto the flange, ensuring it’s centered and secure. Now, I shouldn’t have to say this, but you never want to reuse the old seal.
Throw it away! The last thing you want is to go through all this trouble and not protect your new floor from leaks and cracks because you figured the wax seal was still usable. It’s not!
Before placing the toilet back on the floor:
- Empty any excess water by tilting it over a towel or basin.
- Carefully lower the toilet onto the new seal, ensuring the mounting bolts pass through the holes in the base.
- Apply gentle pressure on the seat to compress the seal, and double-check that it’s level.
With the toilet in place, tighten the nuts onto the mounting bolts using the adjustable wrench. Reconnect the water supply line and open the shut-off valve. Finally, check for leaks around the base and make any necessary adjustments before applying a bit of caulk around the base.
Your toilet is now successfully reinstalled on your newly tiled floor!