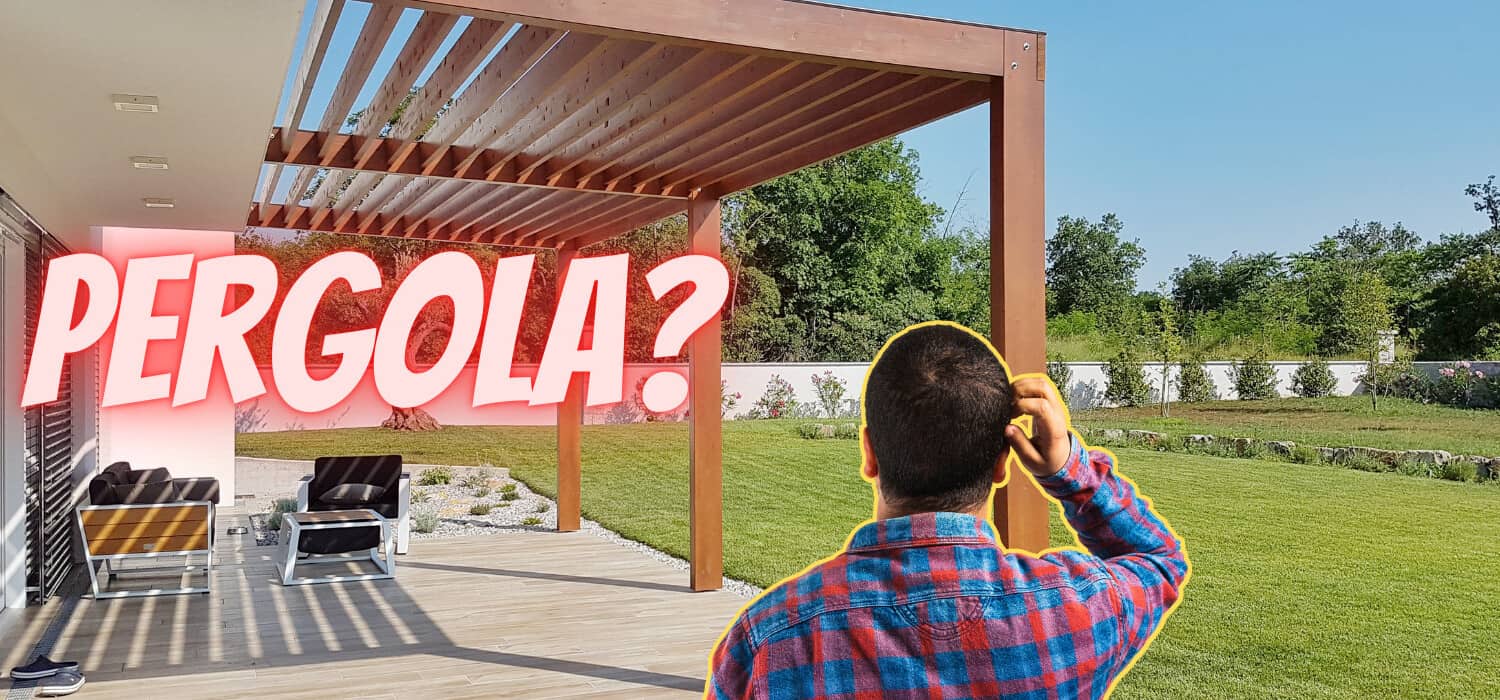
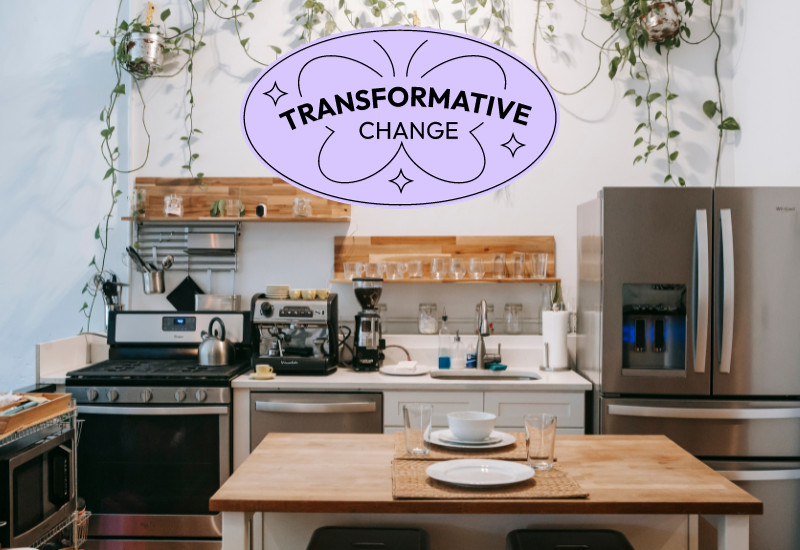
Enhancing your living space doesn’t require a hefty investment or a call to a professional. There are numerous DIY home improvement projects you can undertake to upgrade your home on a budget. Whether you’re looking to sell your home or simply want to freshen up your living quarters, there are cost-effective and straightforward improvements you can execute in a short time frame.
Focus on projects that make a noticeable difference without overwhelming you with complexity. Painting select areas of your home, for example, is an affordable way to transform rooms, giving them a fresh and inviting look. Other upgrades could include replacing hardware on cabinets, installing new light fixtures, or adding strategic shelving for additional storage.
Remember, home improvement is not just about spending money; it’s about adding value and comfort to your living space. By taking on these simple yet effective DIY tasks, you can achieve a custom-made feel in your home, ensuring each space reflects your style and meets your needs, all while keeping an eye on your budget.
Planning Your DIY Projects
When approaching DIY home improvements, careful planning is key to ensuring that your efforts are both cost-effective and impactful. You need to assess what your home requires, determine your budget and schedule, and prioritize tasks that will enhance your property’s value.
Evaluating Home Improvement Needs
First, inspect your home thoroughly to identify areas that need an upgrade. Consider both the aesthetics and functionality. Do doors stick or fail to latch? Could the front entrance use a refresh? List down all potential projects, from simple fixes to more complex renovations.
Setting a Budget and Timeline
Before diving into any DIY work, establish a clear budget. Consider the costs of materials, tools, and any additional assistance you might need, such as advice from a general contractor. Formulate a realistic timeline for each project, taking into account your availability and any learning curve for new skills you might need to acquire.
Budget Example:
| Material Costs | Tool Rental/Purchase | Additional Expenses | Total Estimate |
|---|---|---|---|
| $200 | $50 | $20 | $270 |
Timeline Example:
| Project | Start Date | Duration | End Date |
|---|---|---|---|
| Door Fixes | Jan 5 | 2 days | Jan 6 |
| Entrance Makeover | Jan 15 | 1 week | Jan 22 |
Prioritizing Projects for ROI
Prioritize projects that offer the best return on investment (ROI). Kitchen and bathroom upgrades tend to yield higher returns, but don’t overlook small improvements that can boost your home’s appeal. ROI doesn’t always equate to monetary value; consider the satisfaction and comfort you’ll gain from each project.
Quick and Effective Upgrades

In this section, you’ll discover straightforward ways to enhance your home’s appeal and functionality without extensive renovations. Focusing on key features such as your front door, walls, and kitchen, you can create impactful changes with minimal effort.
Revamping the Front Door
Your front door is the first impression visitors have of your home. To refresh its look:
- Repaint: Choose a durable, weather-resistant paint suitable for exterior surfaces. Select a paint color that complements your home’s exterior for a cohesive look.
- Hardware: Replace old knobs, knockers, and locks with modern hardware to instantly modernize your entryway.
Refreshing Walls with Paint
A fresh coat of paint is one of the most cost-effective ways to transform a room. Here’s how to get started:
- Select a Paint Color: Opt for a color that brightens the space and matches your decor. Neutral tones are versatile, while bold colors can make a statement.
- Prep and Paint: Clean the walls, tape off trim, and apply your chosen paint color evenly. Consider using a semi-gloss finish for trim to make it stand out.
Updating Kitchen Details
Small tweaks in the kitchen can lead to a significant aesthetic upgrade. To do this:
- Cabinets: If full replacement isn’t an option, repainting kitchen cabinets can refresh the entire room. Select a durable paint that can withstand frequent cleaning.
- Hardware: Swap out old cabinet handles and drawer pulls with new hardware to complete the updated look.
Enhancing Home Efficiency

Making your home more energy-efficient can lead to cost savings and improved comfort. By focusing on specific areas such as insulation, furnace filters, and electrical systems, you can significantly reduce energy consumption.
Improving Insulation and Weather-stripping
Weather-stripping: Sealing gaps around doors and windows is a cost-effective way to prevent energy loss. Check for drafts and apply weather-stripping to any leaky areas—this can help maintain your home’s temperature.
- Windows & Doors: Ensure they are properly sealed.
- Attic & Basement: Adding insulation can prevent heat from escaping.
Insulation: Upgrading your insulation helps to keep your home warm in the winter and cool in the summer. Pay special attention to areas like the attic, where heat can easily escape.
Replacing Furnace Filters
Furnace Filters: Regularly changing the filters in your furnace and air conditioner is crucial for maintaining air quality and efficiency.
- Duration: Replace furnace filters every 90 days, or as recommended by the manufacturer.
- Types: Consider high-efficiency filters to trap more particles and improve HVAC system performance.
Air Conditioner: Similarly, ensure your air conditioning unit’s filters are clean to prevent strain on the system and to keep it running smoothly.
Upgrading Electrical Systems
Electrical Outlets: Older homes may benefit from upgrading to more energy-efficient outlets or adding surge protectors to safeguard your appliances.
- GFCIs: Install Ground Fault Circuit Interrupters in areas exposed to moisture to prevent electrical incidents.
- Surge Protectors: Protect your appliances and save energy by using surge protectors, especially with high-energy devices.
Pressure Washers: Use a pressure washer to clean solar panels, exterior walls, and windows to ensure maximum efficiency and sunlight absorption, where applicable.
Boosting Home Aesthetics

Enhancing your home’s aesthetic can be both rewarding and value-adding. Focus on key areas like molding, lighting, and storage to transform your space with elegance and functionality.
Adding Decorative Molding and Trim
Your walls can serve as more than just structural boundaries; they’re a canvas for adding character. Begin by installing crown molding for a touch of sophistication. Decorative trim works wonders to frame windows and doors, elevating their appearance from basic to grand. For those partial to DIY projects, adding molding accurately cuts and installed, can be an efficient weekend task to enrich room features.
- Crown Molding: Elevates the room’s stature, drawing the eye upward.
- Chair Rails: Delineate space elegantly and protect walls from scuffs.
- Wainscoting: Adds a classic look that provides dimensional intrigue.
Installing Elegant Lighting Fixtures
Good lighting is crucial; it can change a room’s entire feel. Start by swapping out old fixtures with elegant lighting options. A strategically placed ceiling fan with lighting can offer comfort and improved luminosity. For a more modern look, consider floating shelves with integrated lighting to highlight décor and keepsakes.
- Chandeliers & Pendant Lights: Serve as a focal point and add opulence.
- Ceiling Fans: Provide improved airflow while offering an additional light source.
- Accent Lighting: Use track lights or wall sconces to improve ambiance.
Creating Custom Storage Solutions
Maximize your living space by integrating custom storage solutions. Built-in bookshelves not only exhibit personal collections but also utilize vertical space efficiently, eliminating clutter. Installing floating shelves in kitchens or bathrooms provides convenient access to essentials while lending a sleek, modern appearance.
- Built-in Bookshelves: Create a dedicated space for books and trinkets.
- Floating Shelves: Are perfect for displaying art pieces and photos, adding a personal touch.
- Multipurpose Storage: Incorporate benches with hidden storage to keep your space organized and stylish.
Functional Improvements
Making functional improvements to your home can significantly enhance your daily living experience. By modernizing bathrooms, optimizing home office space, and revamping bedroom furnishings, you can transform your living space for both comfort and utility.
Modernizing Bathrooms
Updating your bathroom can add both value and convenience to your home. Start by replacing outdated tiles to refresh the overall look, and consider installing a new, water-efficient faucet to increase functionality and reduce water usage. High-quality sealant and grout can prevent water damage and mold growth, ensuring lasting improvements.
Optimizing Home Office Space
Your home office should be a productivity haven. Chalkboard paint on one wall can provide a space for organizing tasks and brainstorming ideas. Choose ergonomic furniture that supports posture and comfort. If space allows, incorporate storage solutions to keep your work area tidy and functional.
Revamping Bedroom Furnishings
Bedroom furniture is not just about aesthetics; it’s about creating a private retreat that caters to rest and relaxation. Consider multi-functional pieces, such as beds with built-in storage to make the most of your space. Upgrading to soft-close drawers and modern handles can also enhance the functionality and feel of your bedroom furniture.
Flooring and Wall Enhancements

When looking to refresh your home’s interior, consider updating your floors with vinyl flooring and revitalizing your walls with stylish wallpaper. These improvements can significantly alter the appearance of your rooms without a heavy investment.
Laying Down New Vinyl Flooring
Vinyl flooring is a cost-effective and durable option that you can install yourself. Start by measuring your space to determine the amount of vinyl flooring you’ll need. When selecting your material, consider peel and stick vinyl tiles, which offer an easy installation process:
- Clean and level your subfloor.
- Plan your layout carefully to minimize cuts and waste.
- Peel the backing and stick the tiles, working from the center outwards.
Keep in mind that seams should be kept to a minimum to create a sleek look. For added detail, incorporate baseboards to frame and finish the edge of your flooring, providing a clean transition to walls.
Applying Stylish Wallpaper
Wallpaper can bring color, texture, and pattern to your walls with a relatively simple application. To get started:
- Choose a wallpaper design that complements your interior.
- Prep your wall surface, ensuring it’s smooth and free of defects.
- Measure and cut strips of wallpaper to fit your wall, allowing extra for pattern matching.
Wainscoting can be paired with wallpaper for a classic look. Install wainscoting panels along the lower part of your wall, then apply wallpaper above to add visual interest and dimension. Use a wallpaper smoother to eliminate bubbles and achieve a professional finish. Remember to work with patience and precision for the best results.
Kitchen and Dining Transformations
Transforming your kitchen and dining area can be a rewarding DIY project. With the right approach, you can create custom solutions that enhance functionality and atmosphere in these key areas of your home.
Building a Custom Kitchen Island
Your kitchen island is more than just a centerpiece; it’s a pivotal hub for cooking, storage, and socializing. To build a custom island:
- Assess the Size: Ensure there’s enough room for foot traffic around the island (aim for at least 36 inches of clearance on all sides).
- Consider Functionality: Decide if you need additional features like extra drawers, shelves, or a wine rack.
- Choose Materials: Select materials that match the current décor. Butcher block for a warm, traditional look or stainless steel for a modern vibe.
Remember to plan for power outlets if you’ll be using appliances, and think about adding bar stools for added dining space.
Updating Dining Room Ambiance
To update your dining room ambiance:
- Lighting: Replace old fixtures with new ones to change the mood of the room dramatically. Consider dimmable options for versatile lighting levels.
- Color: Introduce bold or calming paint colors depending on the desired atmosphere.
- Window Boxes: Attach window boxes outside dining room windows for vibrant plant life that can be seen and enjoyed from the inside, adding a touch of natural beauty.
Sometimes, simple changes like new cushions for your dining chairs or setting up a feature wall with art or mirrors can refresh your dining space without a complete overhaul.
Exterior Home Improvements
Enhancing your home’s exterior doesn’t need to be overwhelming. Tackling small improvements can make a significant difference in how your home looks and functions. The following ideas are practical, easy to accomplish, and beneficial not just for aesthetics but also for the functionality of your outdoor space.
Installing House Numbers and Mailbox
House Numbers: Select a style that matches your home’s exterior and ensures visibility from the street. You’ll need:
- House numbers
- Drill or screwdriver (depending on mounting method)
- Level (to keep numbers straight)
- Choose the location for your house numbers.
- Secure them in place, using a level to maintain alignment.
Mailbox: A well-chosen mailbox can complement your home’s architecture.
- Mailbox and post kit
- Screwdriver or wrench (according to the kit’s requirements)
- Concrete (for securing the post, if necessary)
- Assemble your mailbox and post following the kit instructions.
- Install it near your curb or on your home’s exterior wall.
Adding Curb-Appeal with Window Boxes
Window Boxes add charm and allow you to display plants seasonally. To install window boxes:
Materials:
- Window boxes
- Brackets and screws
- Drill
- Stud finder (optional, to locate the studs in the wall)
Process:
- Locate the position under your window where the brackets will go.
- Secure brackets to the home’s exterior.
- Place the window box onto the brackets and secure it with screws.
Care tip: Pick plants that thrive in your climate and sunlight availability to keep maintenance minimal.
Starting a Composting System
Composting is an eco-friendly way to manage household waste and enrich your garden soil. Steps to set up:
- Compost bin or designated area
- Regular contribution of compost materials (e.g., kitchen scraps, yard waste)
- Choose a spot for your compost that’s convenient yet not too close to your living area.
- Begin adding appropriate organic material, alternating “green” and “brown” layers for optimal decomposition.
Maintenance tip: Turn your compost regularly to aerate it and speed up the composting process.