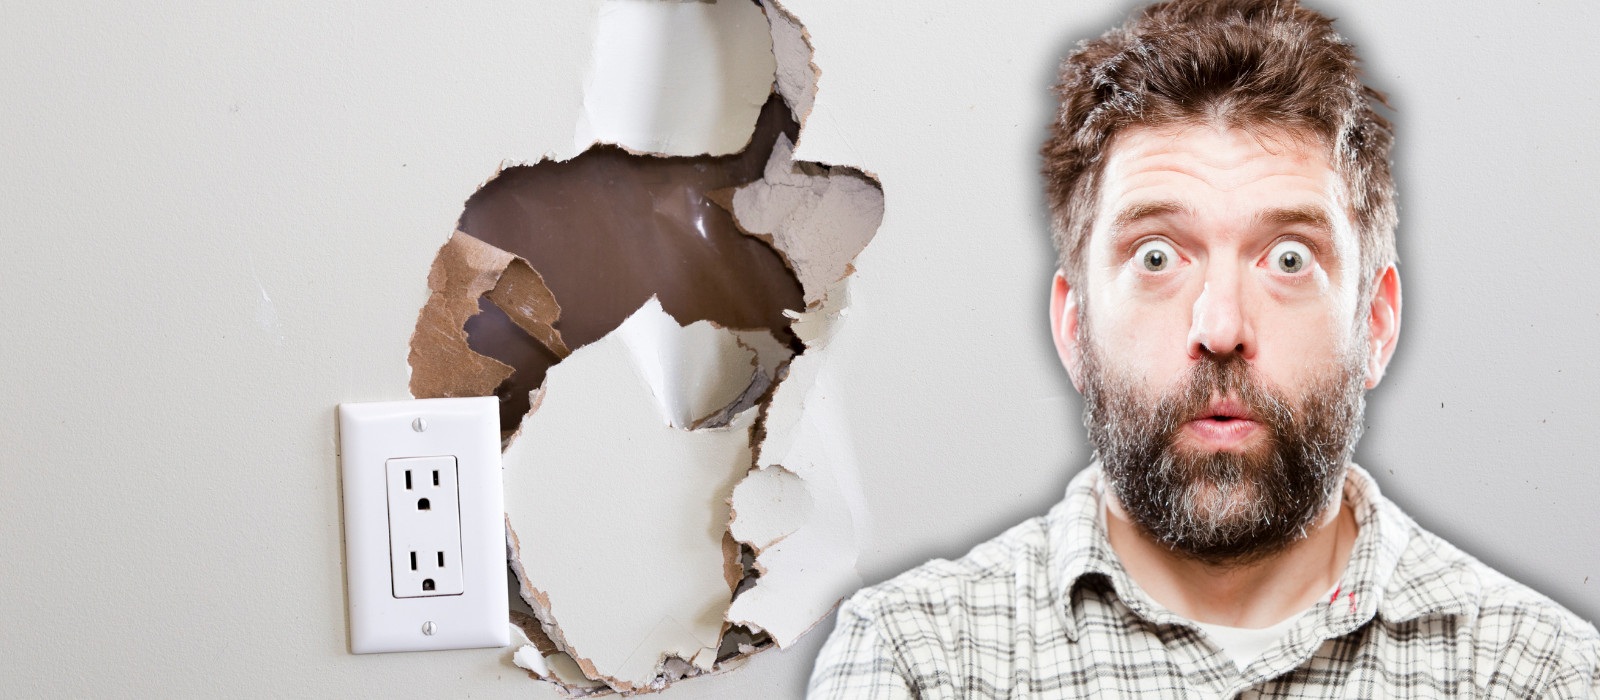
When it comes to drywall damage, it’s not uncommon to come across minor imperfections like dings and nail holes. However, there might be situations where you need to repair larger holes in your drywall. The size of the hole you can fill in drywall depends on the materials and techniques being deployed in the repair.
For smaller holes, such as those created by nails or screws, a simple spackle application is usually enough to patch the damage. But filling larger holes measuring 4 inches or more requires substantial repair methods, like using a piece of drywall cut to fit the hole and secure it with backing support or a patch kit for medium-sized holes.
It’s essential to follow the appropriate steps and use the right materials to repair the hole in your drywall, ensuring a seamless finish and maintaining the integrity of your wall. You want to maintain the stability of your wall in the process, so following proper guidelines will lead to successful results.
Understanding Drywall Damage
Types of Damage
Drywall damage can occur in various forms. But the most common issues include cracks, dents, nail holes, screw holes, small punctures, and large holes. Cracks can appear on the surface or the corners, while dents and holes might result from accidents, furniture moving, or general wear and tear. Understanding the different types of damage is the first step in helping you choose the appropriate repair method.
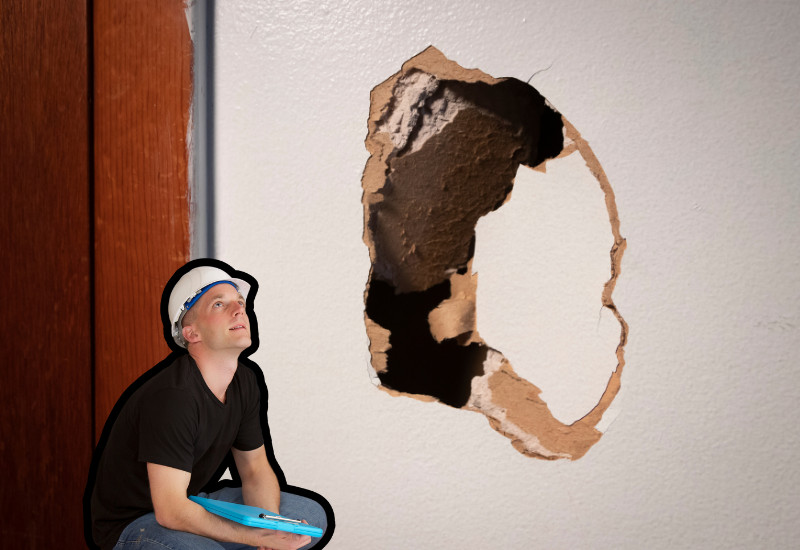
Assessment of Hole Size
Before starting your DIY repair project, measure the size of the hole to determine the method and materials needed. For holes smaller than 4 inches, you can typically use joint compound or spackle with drywall tape. For larger holes, you may need to cut a section of new drywall and secure it with screws.
Risks of Ignoring Drywall Damage
And just in case you’re thinking it’s not worth the effort, ignoring drywall damage can lead to further problems if left untreated. Moisture and pests can find their way into the wall, potentially causing structural damage and costly repairs. Cracked corners or loose drywall sections can also be hazardous, especially in high-traffic areas.
Taking the time to repair the damage will improve the appearance of your walls and maintain the overall integrity of your home.
Tools and Materials Needed
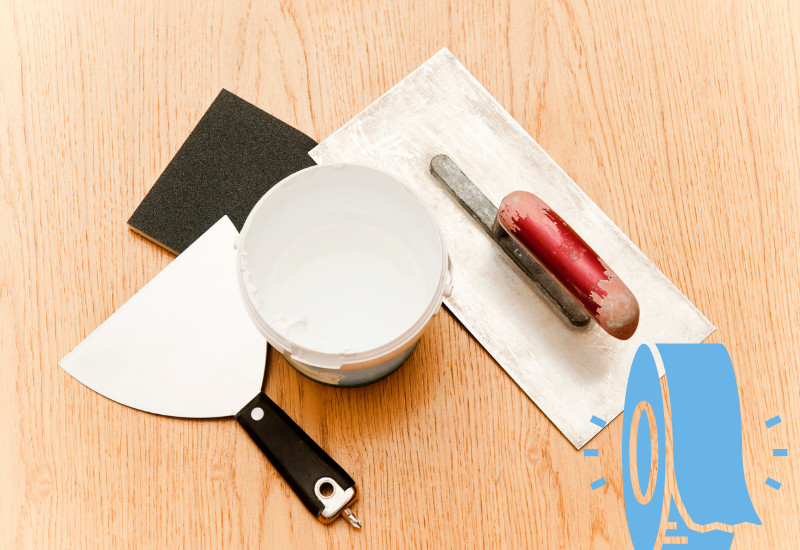
The tools and materials needed for drywall repair depend on the type of damage and size of the hole. Common supplies include:
- Joint compound
- Drywall tape
- Saw or drywall saw
- Utility knife
- Screwdriver
- Drywall screws
- Paintbrush
- Sandpaper or sanding sponge
- Taping knives and putty knife
- Primer and paint
Having the right tools and materials at hand will make the repair process smoother and help you achieve professional results.
Safety Precautions
When working on a DIY drywall project, always consider safety precautions. This includes wearing gloves, safety glasses, and a mask to protect your skin and eyes or from breathing in dust and debris. Be mindful of any electrical wires behind the wall, and turn off the power to the area if necessary. Furthermore, always use a stable ladder when working on higher wall areas to minimize the risk of injury.
Preparation Steps
Before diving into the drywall repair, make sure to clear the area. Remove any furniture, rugs, and wall decorations near the damaged area. Clean the surrounding surface and remove any loose debris from the hole. I’d also recommend lightly sanding the area around the damage to ensure proper bonding of the repair materials.
Small Drywall Repairs
Filling Nail and Screw Holes
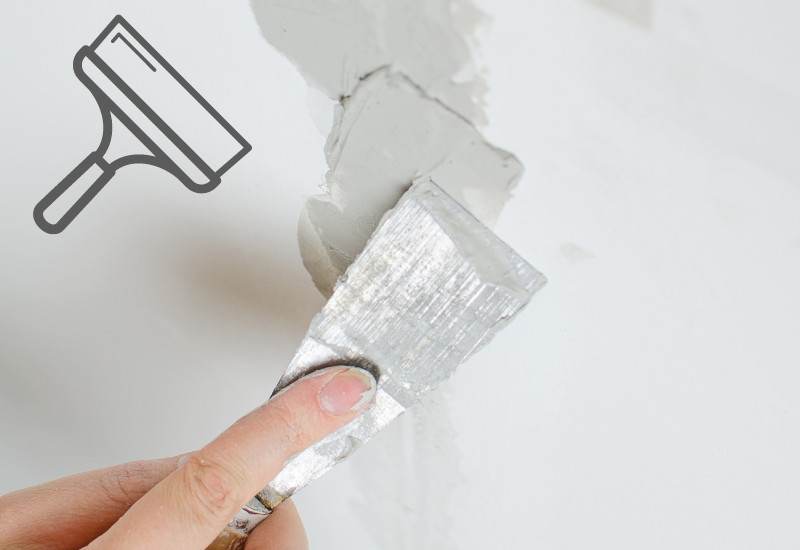
When dealing with tiny holes from nails or screws, you can quickly and easily fill them using spackle or drywall compound. First, clean the area around the hole and remove any debris. Apply a small portion of spackle or joint compound into the hole, pressing it firmly with your putty knife. Be sure to scrape off any excess compound and let it dry. Once dried, sand the area using sandpaper and finish with paint to match the wall.
Repairing Minor Cracks
For small cracks in your drywall, you’ll want to use a similar process with some slight modifications. Clean the crack and surrounding area and apply a layer of drywall tape or fiberglass mesh to bridge the gap. Next, use a putty knife to distribute a layer of joint compound over the tape, feathering it out to blend with the wall. Allow this compound to dry before lightly sanding the surface smooth and repainting to match the existing wall color.
Patch Drywall with Adhesive Patches
If you’re faced with holes larger than a nail or screw holes but still consider them relatively small (up to 8 inches), an adhesive drywall patch is an excellent solution. These patches are available at your local hardware store and come in various sizes to accommodate different hole sizes.
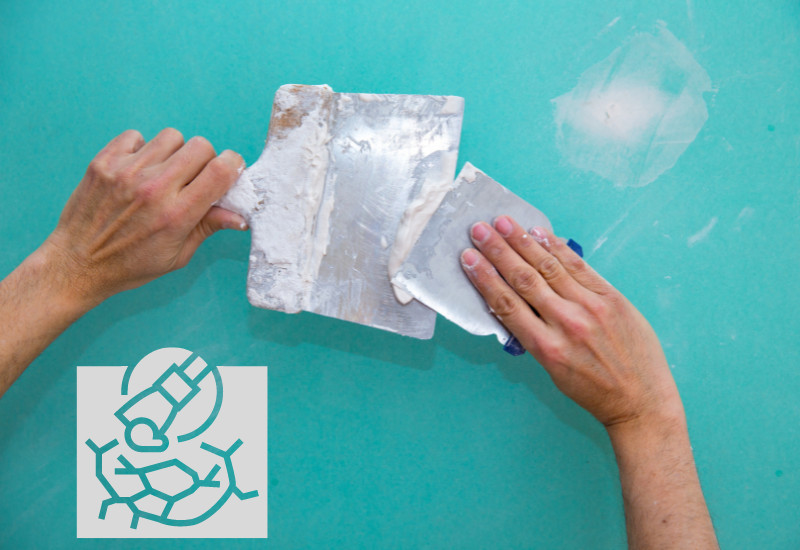
To use an adhesive drywall patch, first clean and remove any loose debris from the hole. Next, peel the backing off the drywall patch and place it over the hole, ensuring a smooth and even application. Use a putty knife to apply a layer of joint compound over the patch and feather it out to blend with the surrounding wall.
Let the compound dry, then apply at least two more coats using the same method. Sand it smooth if necessary and paint it to match the existing wall.
Large Drywall Repairs
Creating a Patch from New Drywall
You’ll need a new piece of drywall to repair larger holes in your wall. Measure the hole and cut a piece of drywall to fit your hole or one that is slightly larger than the hole. You can use a utility knife to score (cut) the drywall and snap it, or a drywall saw to cut the new piece. Ensure the patch’s edges are smooth and straight, making it easier to fit into the hole.
Securing the Patch with Backing Strips
Place wood backing strips inside the hole, positioning them so they extend beyond the edges of the hole. Use drywall screws to secure the backing strips to the wall, ensuring they are flush with the surrounding drywall. Then, place the new patch over the hole, making sure the seams are no more than 1/8 inch wide, and secure it to the backing strips with more drywall screws. It’s generally good practice to keep the drywall screws about 1 inch from the edges and space them every 6 inches or so.
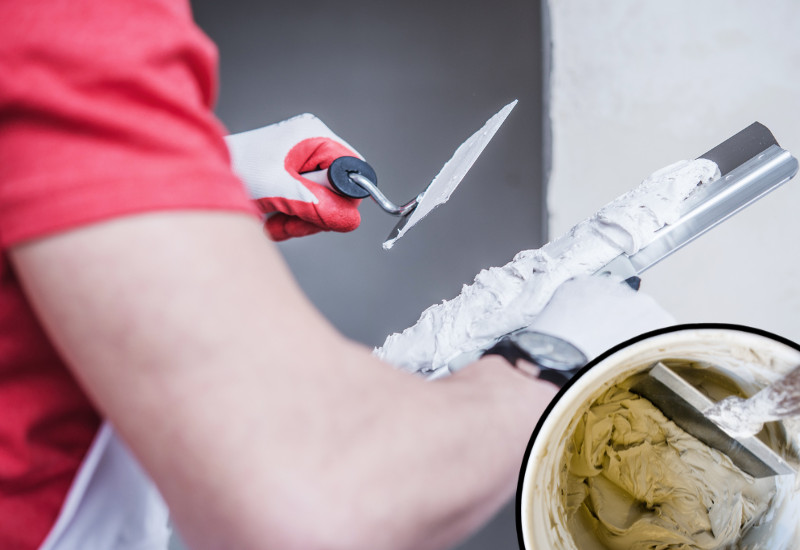
Applying Joint Compound to Seams
For added reinforcement, use drywall joint tape over the seams. Apply a thin layer of wall joint compound over the taped seams utilizing a putty knife, completely covering the screws and edges of the patch. After the compound dries, apply another layer of joint compound over the tape, feathering it to blend seamlessly with the surrounding drywall.
You’ll want to apply at least three separate coats of compound. Each one should feather out further beyond the edges so the final product won’t show signs of a repair.
Sanding and Priming for a Smooth Finish
Once the final application of the joint compound has dried, use a sanding sponge or fine-grit sandpaper to smooth the surface. Focus on the seams and feathered edges, being careful not to damage the surrounding drywall. When the area is smooth and flat, apply a coat of primer to help the paint evenly adhere. Finally, paint the new drywall to match the rest of the area, and your large drywall repair is complete.
Final Thoughts
Each drywall repair is different and may require a unique touch. But the principles are the same. The larger the hole, the more layers of joint compound you’ll need. Otherwise, your patch will stick out like a sore thumb! So, take your time and prep accordingly.