
Maintaining the pristine appearance of the tiles in your home can often hinge on the condition of the grout lines. Over time, grout may become discolored or stained, particularly in high-traffic areas like the kitchen and bathroom, detracting from the beauty of your tiles. While a wide array of commercial grout cleaners are available, you may prefer a DIY approach. Homemade grout cleaner options offer a cost-effective and less chemical-intensive alternative to store-bought products, using common household items.
The process of creating your DIY grout cleaner is straightforward and allows for a natural cleaning solution that is often just as effective as its commercial counterparts. Whether using baking soda, vinegar, hydrogen peroxide, or a combination of these, you have the power to restore the original look of your grout lines without the need for harsh chemicals. These natural grout cleaners can penetrate the porous surface of the grout, lifting dirt and stains and leaving your tiles looking refreshed.
Utilizing homemade solutions not only offers an eco-friendly cleaning option but also puts you in control of the ingredients you use, tailored to the level of cleaning required for your home. By opting to clean grout with a DIY mixture, you can achieve a balance between effective cleaning and gentle care for your tiles, ensuring the longevity and aesthetic of your tiled spaces.
Homemade Grout Cleaner with Dawn
When tackling grime and soap scum in grout lines, a homemade cleaner with Dawn dish soap can be a less toxic and less expensive solution compared to commercial cleaners. The efficacy of Dawn in cleaning grout lies in its degreasing properties, making it a suitable choice for kitchen tile grout that might accumulate cooking residues. However, caution is advised as overuse or improper dilution may lead to residue buildup over time.
To create your cleaning recipe, you’ll need:
- 1 cup of baking soda
- 1/2 cup of hydrogen peroxide
- 1 tablespoon of liquid Dawn dish soap
Instructions:
- Mix the ingredients in a bowl to form a paste.
- Apply liberally to the grout using a grout brush or an old toothbrush.
- Allow the mixture to sit for 5-10 minutes for general cleaning, or longer for tougher stains.
- Scrub gently but firmly to lift mildew and scum.
- Rinse thoroughly with warm water to remove any residue.
For floors or surfaces susceptible to damage from acidic cleaners like vinegar, skip adding it to your mixture. Test the solution on a small, inconspicuous area first to ensure there’s no discoloration or damage. Regular maintenance with this Dawn-based cleaner can keep your grout looking cleaner longer, preventing the need for harsher chemicals.
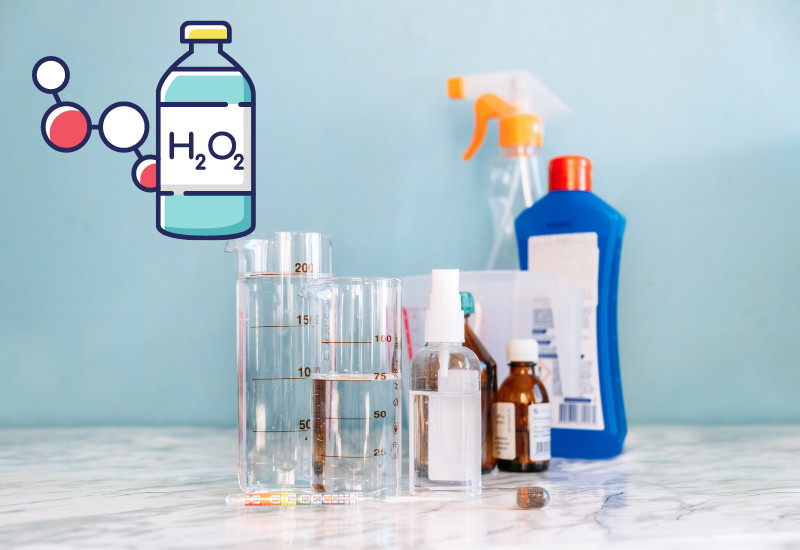
Homemade Grout Cleaner with Hydrogen Peroxide
When facing tough stains on your tile grout, a homemade grout cleaner with hydrogen peroxide can be an effective and non-toxic solution, as I already mentioned with the Dawn soap option. But, you can also forego the use of Dawn if you’re concerned about its potential buildup over time! This cleaner is particularly suitable for use in the kitchen and bathroom where grout can become stained and harbor mold. The combination of hydrogen peroxide and baking soda creates a potent mix that can help lift stains and break down mold without the harsh chemicals found in some commercial cleaning products.
Pros:
- Non-toxic and safe for use in household environments
- Cost-effective compared to commercial grout cleaners
- Effective against a wide range of stains and mold
Cons:
- May require more elbow grease than some chemical alternatives
- May not be as effective for deeply set or long-standing stains
- Hydrogen peroxide can bleach colored grout if not used carefully
Ingredients:
- 1/2 cup baking soda
- 1/4 cup hydrogen peroxide
Instructions:
- Mixing the Cleaner:
- In a small container, combine 1/2 cup of baking soda with 1/4 cup of hydrogen peroxide.
- Stir until it forms a paste-like consistency.
- Application:
- Using a sponge or a grout brush, apply the mixture directly onto the stained grout.
- Let it sit for at least 10 minutes to allow the hydrogen peroxide to react with the stains.
- Scrubbing:
- After allowing the cleaner to sit, use a scrub brush to work the paste into the grout with circular motions.
- For stubborn stains, additional elbow grease may be needed.
- Rinsing:
- Rinse the area thoroughly with warm water using a sponge or cloth.
- Ensure all residue of the cleaning paste is removed to avoid leaving any sediment behind.
Maintenance: After cleaning, consider applying a grout sealer to protect against future stains and make regular cleaning easier. Ceramic tiles and other non-porous surfaces adjacent to the grout can be wiped clean with a damp cloth to maintain their shine.
Does Hydrogen Peroxide and Baking Soda Clean Grout?
The combination of hydrogen peroxide and baking soda can indeed act as a powerful grout cleaner. Hydrogen peroxide is known for its antibacterial properties and ability to lift stains, while baking soda adds a mild abrasive effect that can help scrub away tough grime.
In comparison with other DIY methods, the hydrogen peroxide and baking soda mix does not contain harsh chemicals, offers a deep clean similar to commercial products, and is cost-effective. However, for extremely stubborn stains, commercial grout cleaners may provide a more potent solution, though they often come with a higher chemical content.
When used properly, this homemade method can yield satisfactory results, emitting no toxic fumes, and is safe for most tile and grout types. Regular cleaning with this mixture can help maintain the cleanliness and appearance of your grout over time.
Does Hydrogen Peroxide Damage Grout?

When considering hydrogen peroxide as a grout cleaner for your bathroom or kitchen tiles, it’s crucial to understand its effects on tile grout. While hydrogen peroxide is celebrated for its cleaning prowess, concerns arise regarding its impact on grout sealer and the grout itself—especially when used regularly.
Hydrogen peroxide’s mild bleaching properties make it suitable for light colored grout, aiding in the removal of stains without the harshness of chlorine bleach. However, frequent use of hydrogen peroxide on grout may result in degradation over time. This is because prolonged exposure can wear down the grout sealer, aiding in the penetration of contaminants and potentially shortening the life span of your grout.
For tile surfaces, hydrogen peroxide is generally safe; yet, its usage on grout requires caution. Cleaning products containing hydrogen peroxide can be harmful if they soak into unsealed or damaged areas of grout, leading to further erosion.
When using hydrogen peroxide, the application should be done sparingly and possibly complemented with a thorough rinse. After application with a grout cleaning brush, ensure to rinse the area with water to prevent the cleaner from lingering and continue with drying the tiles and grout thoroughly.
To maintain the integrity of your tile countertops and grouted surfaces, consider the type of tile, grout, and its current condition, possibly opting for gentler alternatives or ensuring a proper seal before regular cleaning with hydrogen peroxide-based solutions.
Which DIY Grout Cleaner Should I Choose?

Selecting the right DIY grout cleaner is essential for maintaining the quality and appearance of your tiles. When choosing a homemade solution, consider the type of tiles, the grout’s condition, and your preferences regarding chemical use.
For General Cleaning:
- Vinegar and Baking Soda: A paste made from vinegar and baking soda can be effective for mild stains. It’s gentle on tiles and grout but avoid using on natural stone due to vinegar’s acidity.
For Tough Stains:
- Hydrogen Peroxide and Baking Soda: Combine this to form a powerful paste capable of tackling tougher stains. Apply it, let it sit for a while, and scrub away.
For Mold & Mildew:
- Tea Tree Oil Solution: Its natural antibacterial properties make it an excellent option for mold and mildew. Mix with water, apply, and rinse off after some time.
When To Use Essential Oils:
- Add lavender or lemon oil for their antibacterial properties and a pleasant scent.
For Natural Stone:
- Castile Soap: Use this non-acidic option diluted in water to avoid damaging sensitive tiles.
| Tile Type | Recommended Cleaner |
|---|---|
| General Tile | Vinegar & Baking Soda |
| Porous Grout | Baking Soda & Hydrogen Peroxide |
| Natural Stone | Diluted Castile Soap |
| Mold & Mildew | Tea Tree Oil Solution |
Note: Always test your chosen cleaner on a small, inconspicuous area first to ensure it does not damage the grout or tiles. Avoid using bleach and ammonia as they can be harsh and may discolor the grout. For eco-conscious homeowners, steer towards non-toxic options like vinegar, baking soda, and essential oils. When dealing with stubborn issues, consider a professional cleaning product specifically designed for grout.