Upgrading your porch light is a simple and effective way to enhance the curb appeal and security of your home. Whether your existing fixture needs to be updated, damaged, or simply not to your preference, changing a porch light fixture can be quick and straightforward. Following a series of steps, you can successfully install a new light fixture and enjoy a refreshed look for your outdoor space.
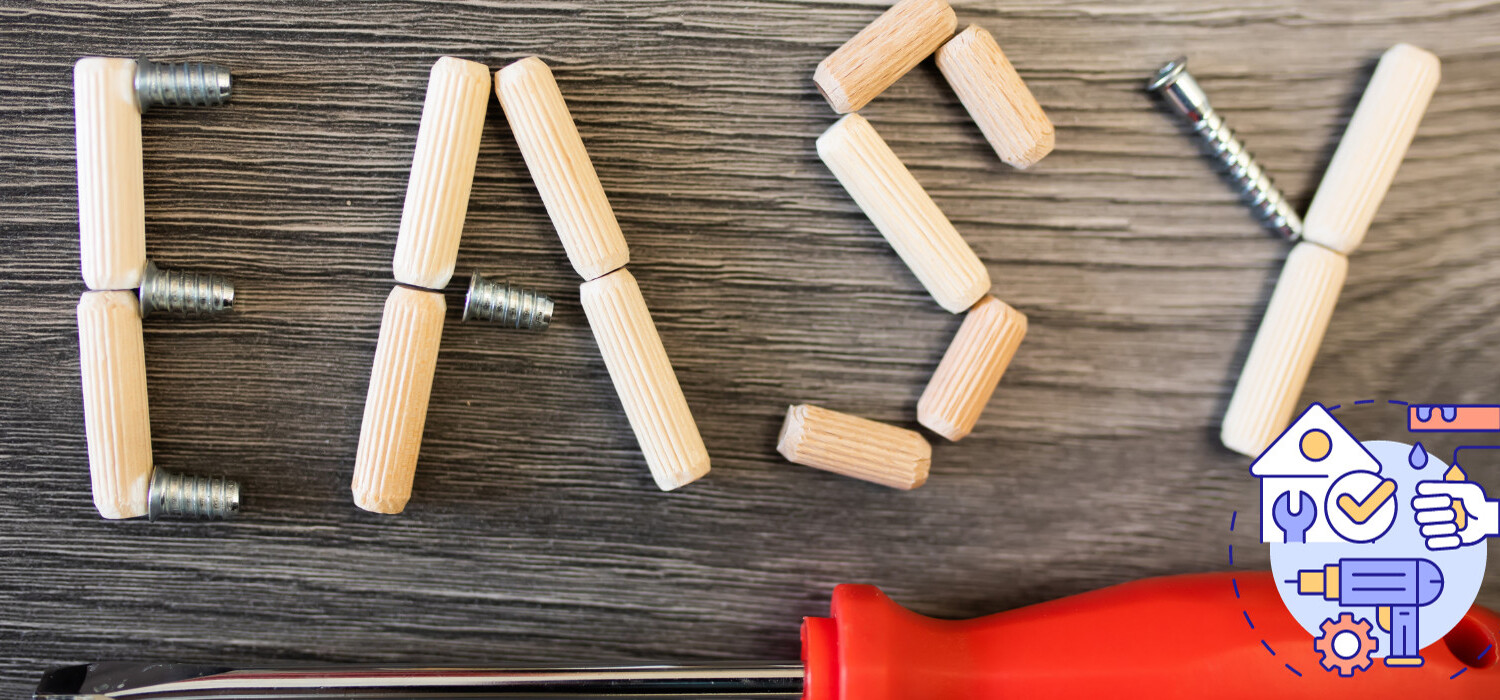
Before diving into the process, it’s crucial to gather the necessary tools and materials, as well as to understand the basic steps involved. Safety should be a priority, including switching off the power supply before tweaking any electrical components. No prior experience is needed, but familiarizing yourself with the process can alleviate any concerns, ensuring a smooth and hassle-free project.
In the following article, we will guide you through the process of replacing your porch light, covering everything from proper preparation to reattaching the new fixture. By the end, you’ll have the knowledge and confidence to tackle this simple home improvement task.
Determining the Type of Porch Light and Gathering Materials
Before changing your porch light, you should first identify the type and style of your porch light fixture in order to gather the necessary materials for replacement. Porch lights come in various designs, such as wall sconces, hanging pendants, and flush mounts. Each type of fixture can have a different method for removing and replacing the light bulb.
Consider the exterior material of your home, as well. Some porch light fixtures may be mounted on brick, aluminum, or other materials, which may require specific tools and expertise for proper handling. So, be sure to take note of your porch light’s installation setup.
Next, examine your porch light fixture to determine its size and the style of light bulbs it requires. Common bulb styles include incandescent bulbs, LED bulbs, and compact fluorescent bulbs (CFLs). Choose the right size and style for your specific porch lighting needs.
Gather all necessary materials for your porch light replacement, such as:
- Replacement bulb: Ensure you have the correct style, size, and wattage for your porch light fixture.
- Screwdriver: This might be needed to remove the light cover or loosen any screws.
- Voltage tester (optional): It is advisable to use a voltage tester to ensure the power supply is disconnected before proceeding with the replacement process.
- Ladder: Make sure you have a sturdy ladder to reach the porch light safely.
There may be more tools needed, but these are certainly going to be required.
By taking the time to determine the type of your porch light and gathering all required materials, you can make changing your porch light bulb easier and more efficient.
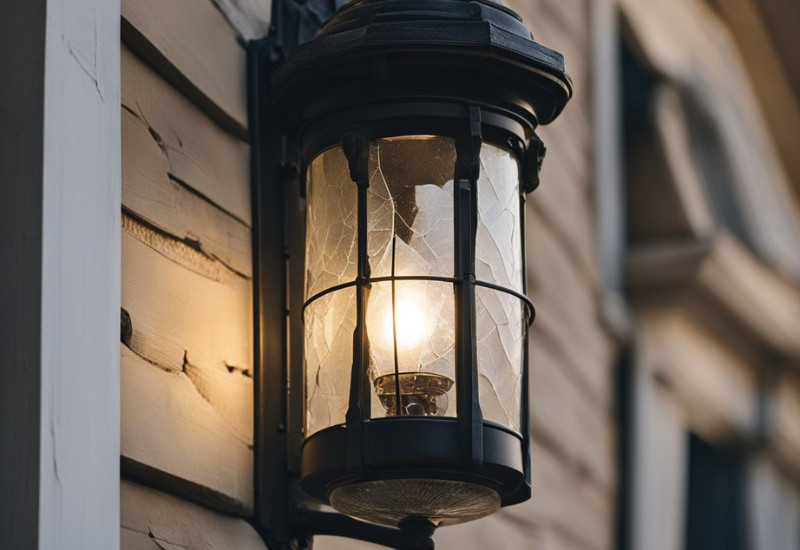
Disconnecting the Old Porch Light
Before starting the process of disconnecting the old porch light, always prioritize safety. The first step is to turn off the power at the circuit breaker. Locate the electrical panel that controls the power supply to your porch light and switch off the corresponding breaker or remove the fuse.
As an added safety measure, use a voltage tester or circuit tester to ensure there is no electricity flowing to the light fixture. This will help you avoid any unwanted electrical shocks during the process.
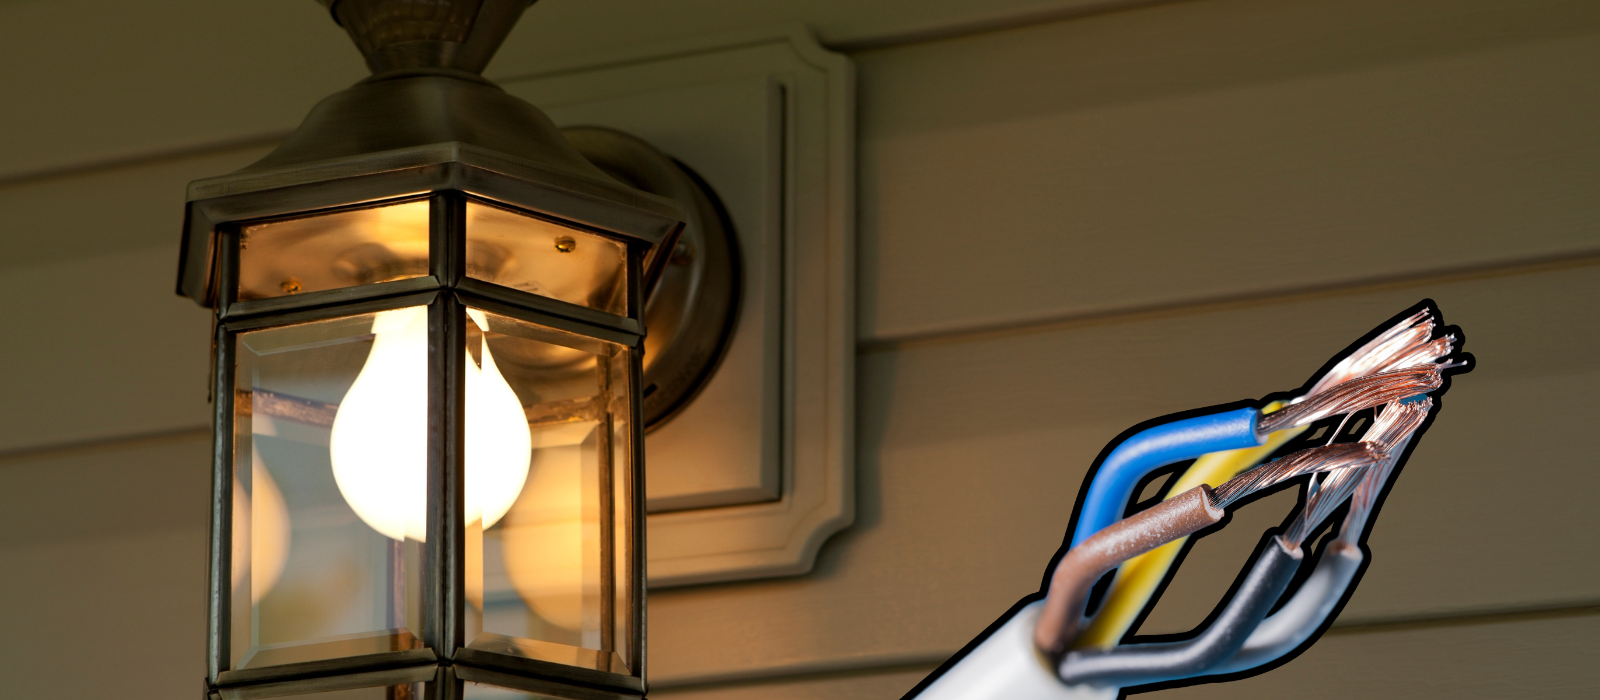
Once you have confirmed the power is off, use a flashlight to see the area clearly, especially if your porch has low lighting conditions. Carefully remove the light cover or any other decorative portions of the fixture to access the electrical wires. These portions may have hidden bolts or screws, so be cautious while doing this.
Now, unscrew or unhook the old porch light from the wall by loosening any mounting screws or brackets. Carefully disconnect the electrical wires by untwisting wire nuts and removing any electrical tape. It’s important to keep track of which wires were connected, as this information will be necessary when installing the new porch light. You should see three types of wires: black (hot), white (neutral), and green or bare copper (ground).
In some cases, you might face issues such as corroded screws, rusted bolts, or tightly wound wire nuts. To deal with these problems:
- For corroded screws, apply some rust remover or lubricant, and then gently try to unscrew them.
- For rusted bolts, use a pair of pliers or an adjustable wrench to loosen them.
- For tight wire nuts, use pliers to twist them counterclockwise gently.
Following these steps, you will successfully disconnect the old porch light, making it ready to install a new one. Remember, always put safety first when dealing with electrical fixtures.
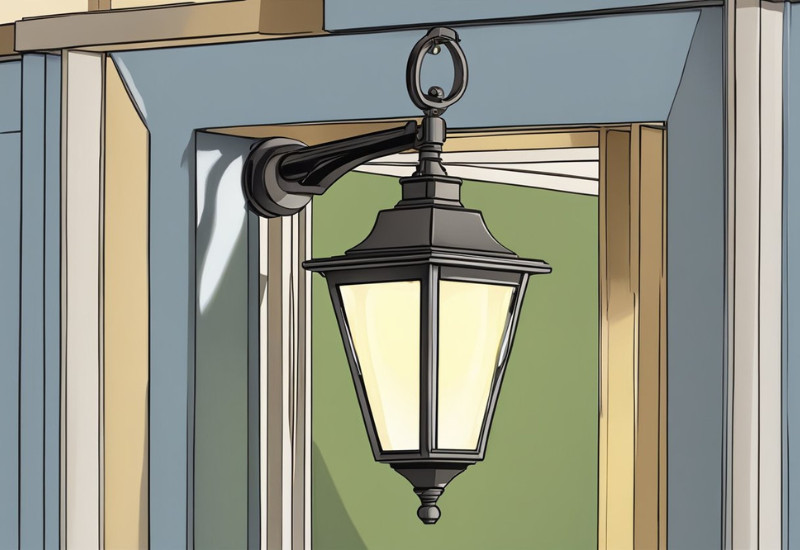
Installing the New Porch Light
Now that you’re ready for the new light fixture, here’s a simple guide for the installation process.
- Prepare the new porch light: Unpack the new porch light and follow the manufacturer’s instructions for assembly, if needed. Familiarize yourself with the different parts like the mounting bracket, ground screw, screws, and wire nuts to make the process hassle-free.
- Attach the mounting bracket: Position the new mounting bracket on the junction box and secure it using the provided screws or the ones from the old fixture. Make sure the bracket is firmly attached to the wall or siding. Otherwise, you’ll find the finished product tilting or vulnerable to extreme weather.
- Connect the wires: Use a wire stripper to strip the ends of the wires if necessary. You should be able to tell once you disconnect the old fixture. Connect the ground wire (usually green or bare copper) from the new fixture to the ground screw on the mounting bracket. Next, connect the white wire from the new fixture to the white wire from the junction box using wire nuts. Similarly, connect the black or red wire from the fixture to the corresponding wire from the box.
- Secure the fixture: Align the new porch light fixture with the mounting bracket and use the provided bolts or screws to fasten it. Attach any additional decorative elements, such as washers or nuts, if applicable. Ensure the fixture is tightly secured and level.
- Install the new porch light bulb: You can use the old light bulb if you want, but either way, the process is the same. Screw it in gently, making sure not to overtighten or damage the bulb.
- Restore electricity: Turn on the circuit breaker to reconnect the power supply and test your newly installed porch light. With everything functioning properly, enjoy the enhanced curb appeal and increased security of your home.

Following these simple steps and maintaining a professional approach throughout the installation will ensure your new porch light provides long-lasting and efficient illumination for your home’s entrance.
And if you happen to hear a popping sound and the lights go out, that probably means one of your wires is exposed and needs an extra layer of electrical tape!